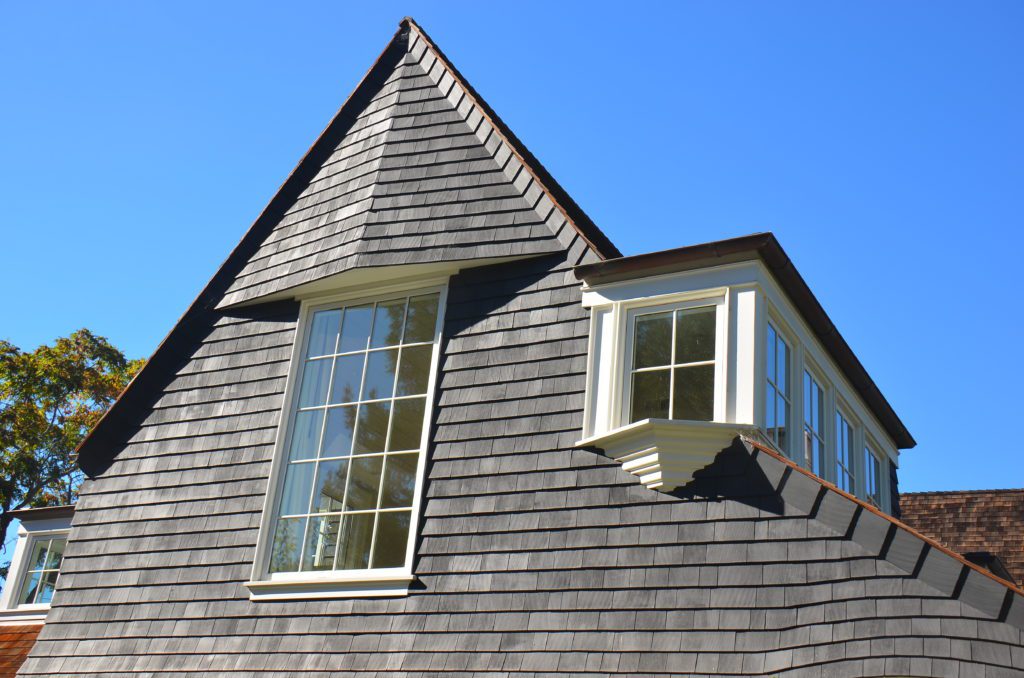
Taking quality real estate photos of your home or project is easier than ever.
Here are some pro tips to help you capture beautiful images.
Planning ahead
Make a site visit to inspect the property before the shoot. Be sure you have access to all the important areas. Try to identify lighting and composition challenges ahead of time.
Turn on the lights and open the blinds. Lighting is your most important tool. If the lighting is poor or the wrong color, bring some portable lighting equipment to properly set off the scenes. If there is a good view, take advantage of it.
Choose flattering elevations and compositions. Like people, every home or project has its best side. It could be an exquisite design, or an interesting shape or color. It could even be something with a dramatic backdrop. Get in close with a macro lens to highlight intricate details and workmanship.

Equipment
Don’t spend much time or money worrying about equipment. The model and type of camera you use is of little concern. Any average digital camera will do. Much more important than the equipment is your knowing how to use it properly. In fact, really awesome project images can be captured using a cell phone. I especially like the iPhone 11 pro max because it is small, easy to use and it has an ultrawide (13mm) lens built in. It also compensates for poor lighting situations automatically and produces awesome colors.
Another great camera for this type of work is the six year-old Nikon D7000. See a full review including settings and use of this camera at my friend Ken Rockwell’s website. Mate this camera with a 18-300MM for outdoors and consider a 12-24MM lens for indoors. The 18-300MM zoom makes it possible to easily see flashing and roof details without a ladder.
Why have an ultrawide lens like the 12-24mm in your kit? Normal lenses that come with cameras usually only go wide enough to capture one part of a wall at a time. An ultrawide lens captures an entire room instead of part of a wall. As a bonus, an ultrawide-angle lens will make any room or structure look bigger. Realtors love this. Unfortunately, all but the most expensive ultra-wide lenses impart distortion. Distortion will show up in images with straight walls and flat horizontal roof lines that most homes have. The good news is that slight distortion isn’t a major problem unless you are trying to emphasize straightness or square mechanical aspects of the home.
Aerial images using drones equipped with cameras can provide access to exciting perspectives that would not normally be available. Drone images are well suited for showing off pools, landscapes and dramatic features.

Composing
Declutter the home and remove distracting flaws from your shots. Once you have decided on the composition and shot angles it’s time to scrub the area down. Remove any unsightly items or anything that distracts from the shot. Take a practice image and study it for things that do not belong, then remove them. Repeat till you get an undistracted image of the important subject material.
Choose good lighting for your shoot. Understanding how to properly light your subject is the most complex technical subject you will need to master. Most electric indoor lighting is terrible and difficult to work with. Be especially careful of bright light at the windows and dark shadows outdoors. Early mornings or evenings around sunset are best for the outdoor shots.
Focus on interesting subjects. A beautiful kitchen is just another beautiful kitchen so try to zero in on the things that make it beautiful. Is it color, texture, clever design, symmetry, fancy appliances or whatever?
Stage the shot
Take some practice snaps and look at the thumbnail images. If the thumbnails of your practice images are lacking character or empty looking, your full size image will look bad too. If this happens, it’s time to refine the composition or maybe bring in the props. This is often necessary with new homes or additions that are still unoccupied. New landscapes and hardscapes can look much better with strategically placed outdoor furniture, teak tables, chaise lounges, BBQ’s etc. Even a couple of colorful floaties in an empty pool will help bring some life to the shot.
Use a tripod to take the final picture and get the composition just right. Avoid tilting the camera oddly or accentuating too much distortion. A tripod can help you get the best focus and can get the camera closer to the surfaces. This is especially useful around pools of water to get cool reflection shots. Use a tripod and set the ISO to its lowest setting. The tripod is stable and allows you take long exposures. Long exposures mean you can use small apertures for sharp focus and clean crisp images.
Before and after
Before and after images can tell very compelling stories. If you have an interesting project coming up, be sure to get great “before” shots. Take shots in good lighting from all directions and angles. That way at the end of the project you will likely have a decent image that will match up with some photo of your new work.
Make large prints
Architectural images look their best in larger sizes. Images taken with the equipment described above will allow for truly huge enlargements.


